Getting Started with Service Builder
The first thing to get started with data access service (DAS) is to get familiar with Service Builder. This tutorial walks you through the general steps of working with Service Builder, including
- Setup
- Development, and
- Inspecting and testing DEV deployment.
To make this tutorial short, we will only show you the steps to generate a simple repository service from DB table. For steps to create the query, SQL and non-trivial repository services, please move on to our second tutorial:
Get Started with Data Access Services
The sample database used for both tutorials is the classicmodels database from mysqltutorial.org. The ER diagram is available here.
The Service Builder must connect to a workspace on a development server/platform to work. Therefore,
- As a prerequisite, you will need to launch the development server and sample MySQL database on your local machine following the Get Started with Development Server tutorial.
- Register the Service Builder with the development server to create and connect to a workspace.
However, you may also clone the Service Builder DevContainer project for a fully integrated development environment that includes the development server and a MySQL and a PostgreSQL database.
Note: The
Service Builder DevContaineris the recommended way to set up the development environment. If you do use theService Builder DevContainer, you may go to the Development section directly once the DevContainer is up.
Prerequisite
VS Code (version 1.87.0 or later) installed.
Development Server and sample MySQL database running on local machine.
Setup
Launch VS Code
From your OS terminal, create a work folder for Service Builder and launch VS code from the work folder:
Install Service Builder
From the Extensions Explorer of VS Code, search and install Service Builder Pack, which includes the following VS Code extensions:
The JSON Grid View and REST Client extensions are required by some parts of Service Builder.
Activate Service Builder
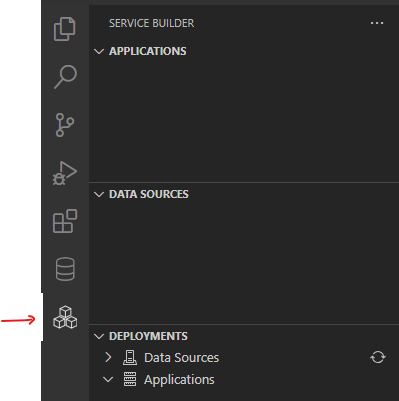
Click the Service Builder icon ![]() on the Activity Bar of VS Code. The
on the Activity Bar of VS Code. The Service Builder view opens up in the side bar, with three explorers:
- The
APPLICATIONSexplorer at the top, for developing data access application in local workfolder and deploying it to remote workspace. - The
DATA SOURCESexplorer in the middle, for configuring data sources in local workfolder and deploying it to remote workspace. - The
DEPLOYMENTSexplorer at the bottom, for inspecting data sources and applications deployed in remote workspace.
Register Service Builder
- From the
APPLICATIONSbar, click the more icon..., and selectRegister Builder; - Enter dev server URL
http://localhost:8080in the input box, and hit Enter;
The Service Builder is connected to a new workspace on the development server.
Development
Create Data Source
-
Add Data Source
- On the
DATA SOURCESbar, click theAddicon ;
; - Enter
mydbfor the data source name in the input box, and hit Enter; - Select
mysqlfor database type in the quick pick.
A data source named
mydbis created.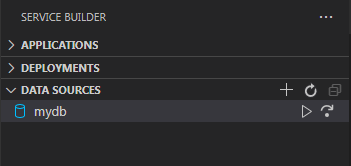
- On the
-
Configure Data Source
- Click
mydbto open the data source configuration file; -
Copy and paste the following into the file:
{
    "dbType": "mysql",
    "host": "mysql",
    "port": 3306,
    "database": "classicmodels",
    "username": "sample",
    "password": "password123",
    "comments": "mysql data source"
}
which configures the sample MySQL running on the local machine as the data source.
-
Save the file.

- Click
-
Test Data Source
- Click the TEST icon
 on the
 mydbbar;
The status bar at the bottom reads "data source test succeeded":

The password is stored as secret in the Service Builder and masked in the data source file.
- Click the TEST icon
-
Deploy Data Source
- Click the DEPLOY icon
 on the
 mydbbar.
The status bar reads "data source deployed".

The data source is deployed into the remote workspace with the password encrypted.
- Click the DEPLOY icon
Create Application
-
Generate Application
- From the
APPLICATIONSbar, clickNew Applicationicon
- Enter
myAppas application name. Hit Enter. - Select
mysqlas database type.
An application named
myAppis generated: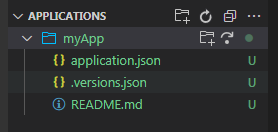
- From the
-
Configure Application
- Open the
application.jsonfile; - Change
dataSourcevalue tomydb, and save.
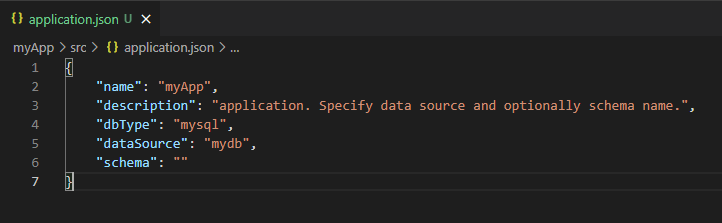
Note that you may optionally configure the
schemato use with the application. Otherwise, the application schema defaults to thedatabaseproperty of the data source associated with the application, as in this case. - Open the
-
Deploy Application
- From the
myAppbar, click the DEPLOY icon;
Application is deployed into remote workspace. The status bar reads "application deployed".

Note: The application must be deployed before proceeding to service development.
- From the
Create Module
-
Generate Module
- From the
myAppbar, clickNew Moduleicon. - Enter
myModas module name. Hit Enter.
A module named
myModis generated for applicationmyApp: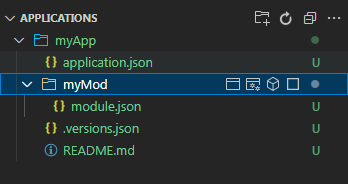
- From the
-
Configure Module
- Skip. Nothing to configure other than a description of the module.
-
Deploy Module
- Skip. The module will be deployed when the service is deployed.
Generate Simple Repository Service from Database Table
Note: here we are to generate a simple repository service from the
officestable, for a simpleOfficesobject mapped to theofficestable. You may generate simple repository services from multiple tables at once, but here we only generate one service from theofficestable.
-
Generate service
- From the
myModbar, clickGenerate repository from table icon ;
; - Select table
classicmodels.officesfrom the quick pick. Hit Enter; - Select
nonefor name convention.
A simple repository service named
Officesis generated forofficestable: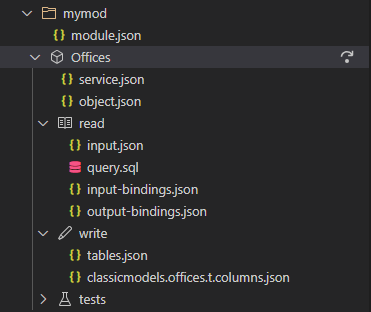
- From the
Since no name convention is applied, the field names of the object match exactly the column names of the table.
-
Review Service
- Open
object.jsonfile to review the object structure and fields; - Open
input.jsonfile to review the input parameters for the read query; - Open
query.sqlfile to review the SQL query for read operation; -
From
input-bindingsbar, click the JSON viewer icon , to open and review input bindings in JSON file and JSON grid side by side:
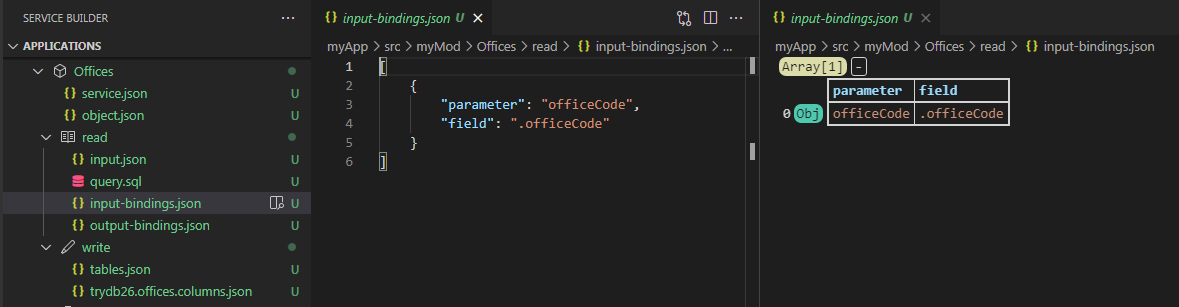
-
From
output-bindingsbar, click the JSON viewer icon, to open and review output bindings in JSON file and JSON grid side by side; -
From
tablesbar, click the JSON viewer icon, to open table bindings in JSON file and JSON grid side by side. Drag JSON grid below JSON file to get a better look of the table bindings: 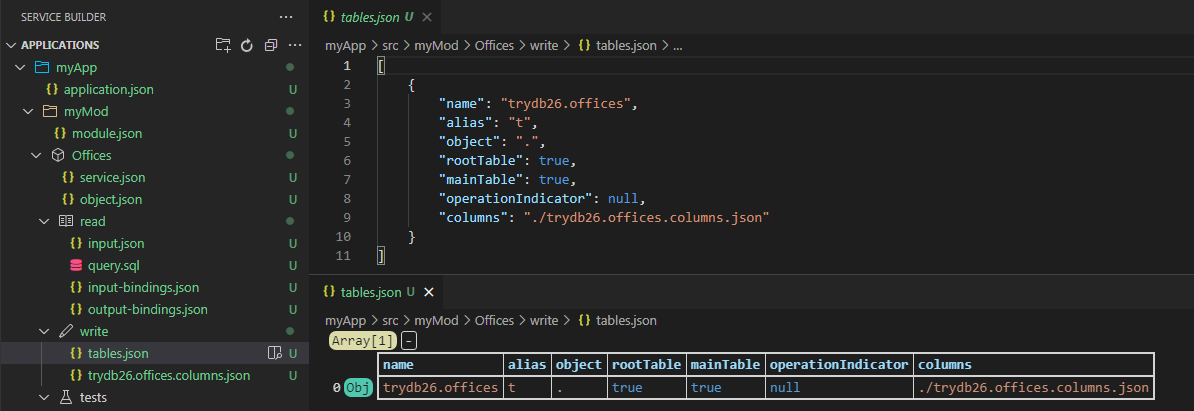
-
From
offices.columnsbar, click the JSON viewer icon, to open columns bindings in JSON file and JSON grid side by side. Drag JSON grid below JSON file to get a better look of the column bindings.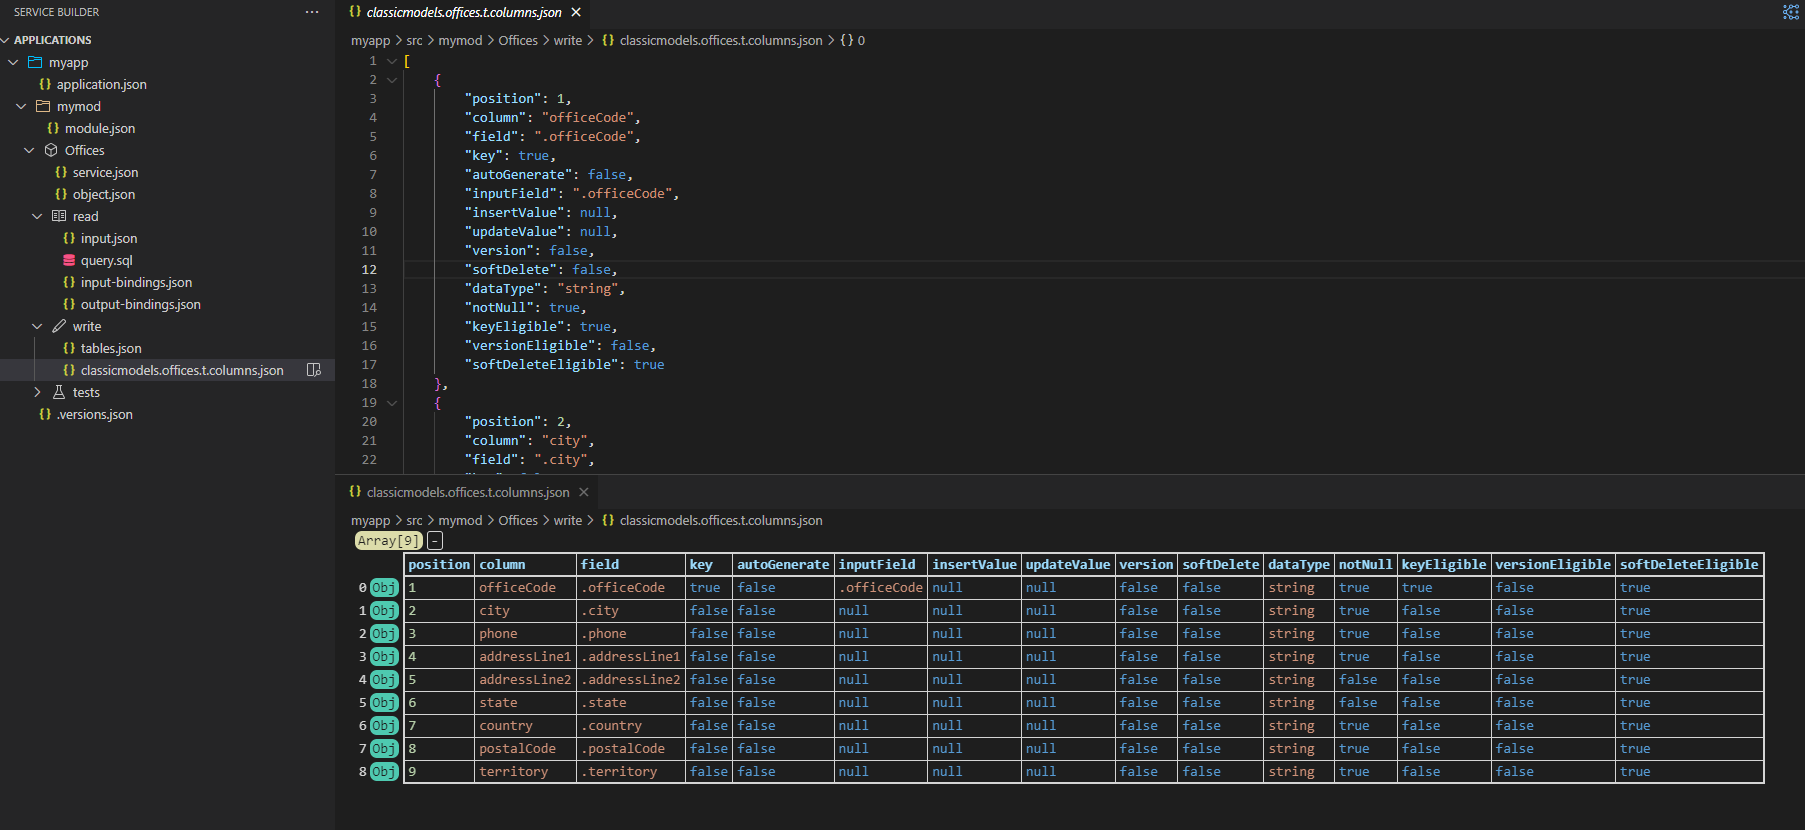
- Open
To make any change to the bindings file, just edit the JSON file. The change will be automatically reflected in the JSON grid.
-
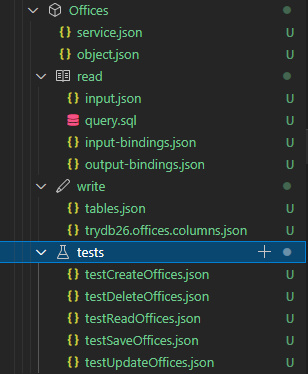
Generate Test
- From
testsbar, clickAdd Testicon; - Select
Allfrom the quick pick. Hit Enter.
Five tests are generated, one for each repository operation:
- From
-
Executing Test
- Open
testReadOffices.jsonfile; - Edit input of the test, to set
officeCodeto "1"; - Click
Run Testicon in the upper right conner.
Test is executed and test result is displayed on the right side.
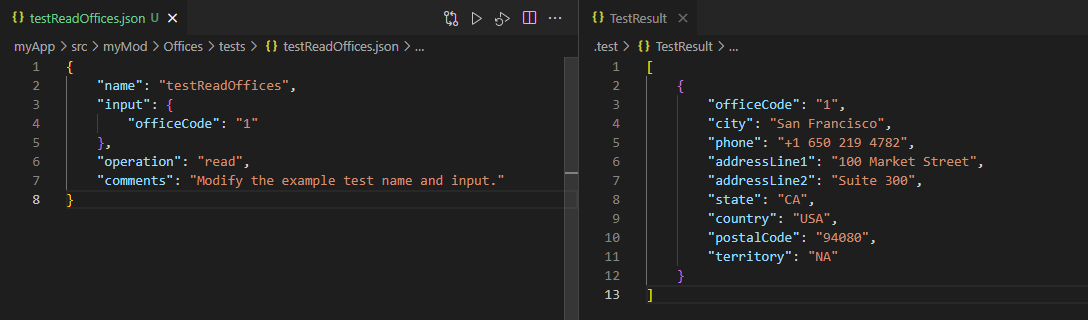
- Open
-
Deploy Service
- From the
Officesservice bar, click the DEPLOY icon;
Service is deployed and the status bar reads "service is deployed.".

- From the
Sync Application
From the myApp application bar, click the the DEPLOY icon to redeploy the application, which syncs the application deployed in the remote workspace with the application in your local work folder.
Inspect and Test Deployments
-
Inspect Data Source Deployment
-
From the
Data Sourcesbar ofDEPLOYMENTSexplorer, clickRefresh Data Source Listicon , to show the list of data sources deployed in the workspace.
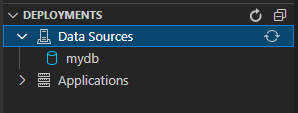
-
-
Inspect Application Deployment
-
From
Applicationsbar ofDEPLOYMENTSexplorer, clickRefresh Application Listicon, to show the list of applications deployed in the workspace.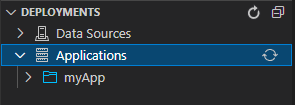
-
From
myAppbar inDEPLOYMENTSexplorer, clickRefresh Applicationicon, to show the list of services of the application deployed in the workspace.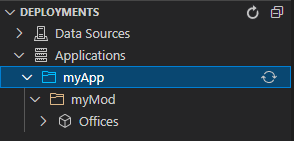
-
-
Test Service Deployment
-
From
Officesbar inDEPLOYMENTSexplorer, clickView Testsicon , to show the test file for the service.
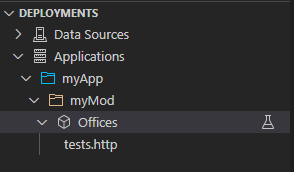
All tests deployed into the remote workspace with the service are consolidated into a single
test.httpfile, in a format that can be readily executed with theREST ClientVS Code extension.-
Open the
test.httpfile, and from the file clickSend Requestunder### testReadOffices. The test is executed and response is shown on the side.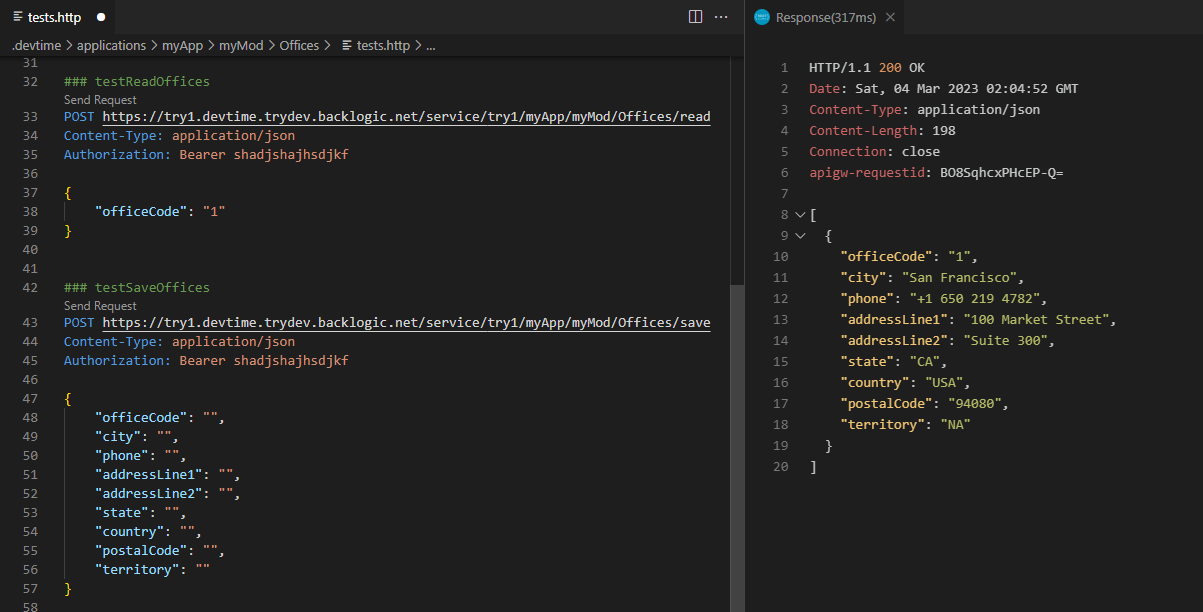
-
The test is executed from the workspace service endpoint.
Conclusions
In this tutorial, we have shown you:
- how to install and activate Service Builder.
- how to register the builder with the Development Server to connect to a remote workspace,
as the setup process; shown you:
- how to add and configure a data source.
- how to create an application and module, and
- how to generate a simple repository service from DB table,
as the development process; and shown you:
- how to inspect the data sources and applications deployed in the remote workspace, and
- how to test the data access services deployed in the remote workspace through the workspace service endpoint,
as the deployment inspection process.
What Is Next
Move on to Get Started with Data Access Services.